Using the rulers and grid
You can use rulers and the grid to help you precisely align, size, and position objects precisely on a layout.
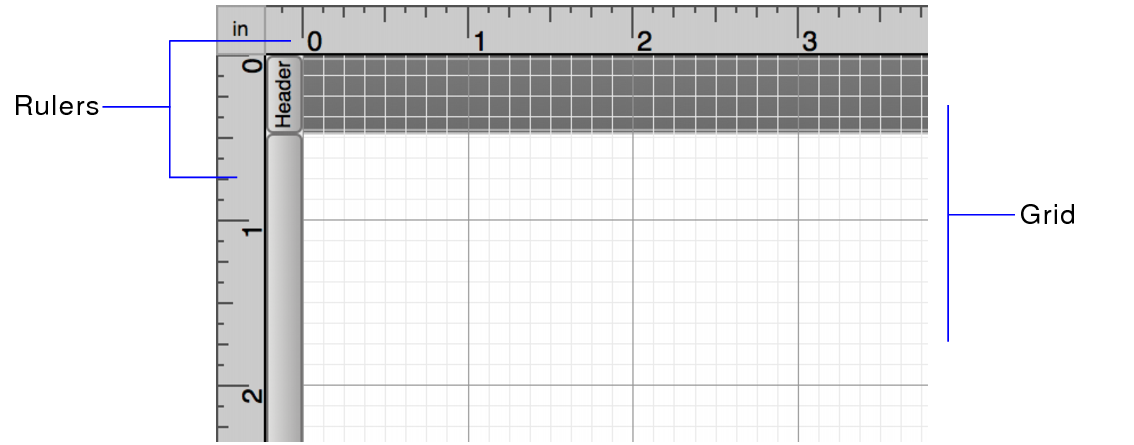
Work with the rulers and grid
To | Do this in Layout mode |
Show or hide the rulers | Choose View menu > Rulers. Guide lines on each ruler track the position of the pointer as you move the pointer on the layout. |
Show or hide the grid | In the Inspector, click the Position  tab. In the Grid area, select or deselect Show grid. Major gridlines appear slightly darker than minor gridlines. The gridlines do not print. |
Turn the snap-to effect on or off | In the Inspector, click the Position tab. In the Grid area, select or deselect Snap to grid. objects that you move or resize snap to minor gridlines. New objects are created aligning to the nearest major gridline. Objects snap to the grid even when the grid is hidden. |
Override the grid's snap-to effect | Press Alt (Windows) or Command (macOS) as you drag an object. |
Change the distance between gridlines | In the Inspector, click the Position tab. In the Grid area, enter values for Major Grid Spacing and Minor Grid Steps. |
Changing the unit of measure
To change the unit of measure used by the rulers, grid, and the Inspector, do one of the following:
•Right-click a ruler and choose a unit of measure from the
shortcut menu.
•Click the upper-left corner of the document where the horizontal and vertical rulers meet until you see the unit of measure you want.
•In the Inspector, click the unit of measure, which appears next to many options, until you see the one you want.
Each ruler increment measures the following amount of space:
Unit of measure | Each ruler increment measures |
Inch (in) | 1/8 inch |
Centimeter (cm) | .25 centimeters |
Points (pt) | 10 points |
Related topics